Linking Garage Door Installation: A Comprehensive Guide
Are you looking to install a new garage door or upgrade your existing one? Linking a garage door installation can seem like a daunting task, but with the right guidance, it can be a breeze. In this article, we will cover everything you need to know about linking garage door installation, from the basics to the advanced techniques.
Why Linking Garage Door Installation is Important
Linking a garage door installation is crucial for the safe and efficient operation of your garage door system. Proper installation ensures that your garage door operates smoothly, quietly, and safely. Ignoring linking garage door installation can lead to a range of problems, including door imbalance, noise, and even safety hazards.
The Benefits of Linking Garage Door Installation
Improved door performance: Proper linking ensures that your garage door operates as smoothly and quietly as possible.
Increased safety: A well-linked garage door installation reduces the risk of accidents and injuries.
Long-lasting door system: Proper linking extends the lifespan of your garage door and its components.
Enhanced appearance: A well-installed garage door can greatly improve your home's curb appeal.

Moving forward, it's essential to keep these visual contexts in mind when discussing Linking Garage Door Installation.
Step-by-Step Guide to Linking Garage Door Installation
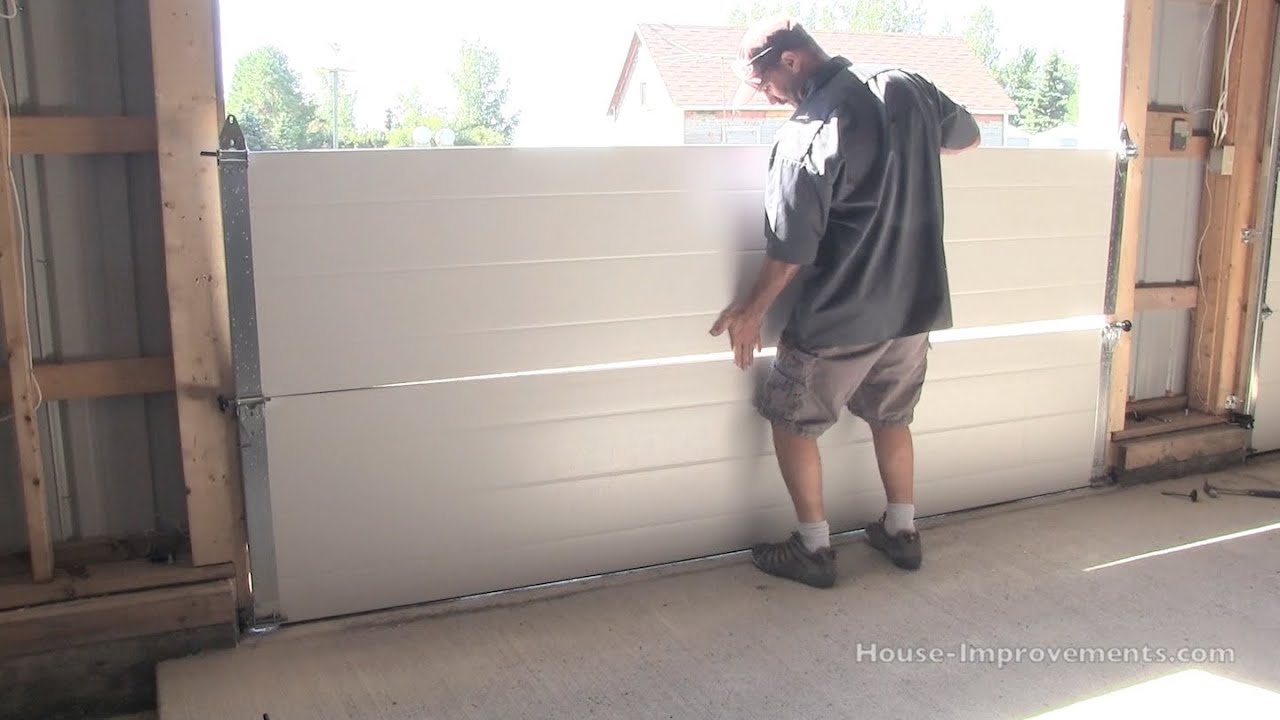
Step 1: Prepare Your Garage Door
Before you start linking your garage door installation, make sure your garage door is properly aligned and adjusted. Check the door's vertical and horizontal movement, as well as its levelness and plumbness. Make any necessary adjustments before proceeding.
Step 2: Identify the Components
Identify the components you need to link your garage door installation, including the opener, door, and safety sensors. Take note of the color-coding and wiring of the components to ensure correct linking.
Moving forward, it's essential to keep these visual contexts in mind when discussing Linking Garage Door Installation.
Step 3: Connect the Wires
Connect the wires from the garage door opener to the door and safety sensors. Use the correct wire colors to prevent confusion. Make sure all wires are securely connected and not loose or damaged.
Step 4: Adjust the Tension
Adjust the tension of the garage door springs to ensure proper linking. This is a critical step, as improper tension can lead to door imbalance and safety hazards.
Step 5: Test the System
As we can see from the illustration, Linking Garage Door Installation has many fascinating aspects to explore.
Test the garage door system to ensure it operates smoothly and quietly. Check for proper door alignment, balance, and safety features. Make any necessary adjustments before finalizing the installation.
Common Mistakes to Avoid When Linking Garage Door Installation
When linking a garage door installation, there are several common mistakes to avoid:
Improper wire connection: Incorrect wire connection can lead to door imbalance, noise, and safety hazards.
Insufficient tension: Under-tensioned springs can lead to door tilting and safety issues, while over-tensioned springs can cause damage to the door and opener.
Incorrect door alignment: Misaligned doors can cause uneven wear and tear, as well as safety hazards.


")


