Take Your Screenshot Game to the Next Level: A Step-by-Step Guide on How to Take a Screenshot on Mac and Edit
Whether you're a seasoned Mac user or new to the world of Apple devices, capturing and editing screenshots is an essential skill to have. Not only can it be useful for sharing information or creating visual content, but it's also a great way to showcase your creativity and showcase your work. In this article, we'll take a closer look at how to take a screenshot on Mac and edit it to perfection.
- Full-Screen Shots: To take a full-screen shot on your Mac, press and release the keys Shift, Command, and 3 together. This will capture a screenshot of your entire screen.
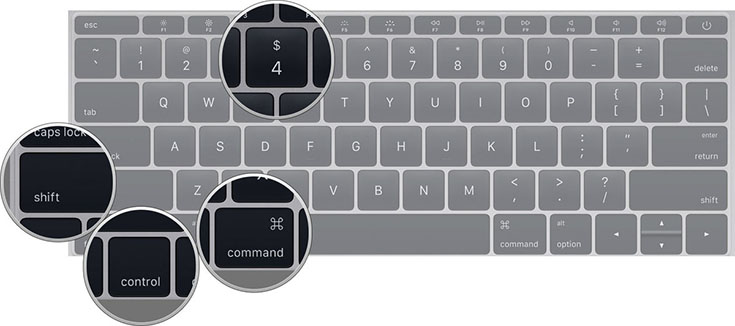
- Selected Portion of the Screen: If you only want to capture a portion of your screen, press Command + Shift + 4, then click and drag your mouse to select the area you want to capture.
- Specific Window: To capture a screenshot of a specific window, press Command + Shift + 4, then press the Spacebar, and click on the window you want to capture.
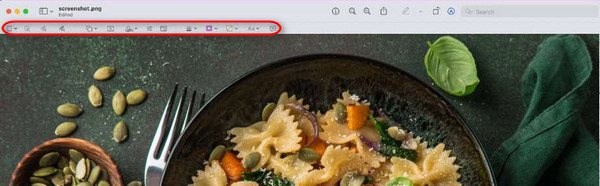
Once you've taken a screenshot, you'll see a thumbnail pop up in the bottom right corner of your screen. Clicking on this thumbnail will open Apple Preview with your screenshot inside. From here, you can edit your screenshot using the expandable toolbar.
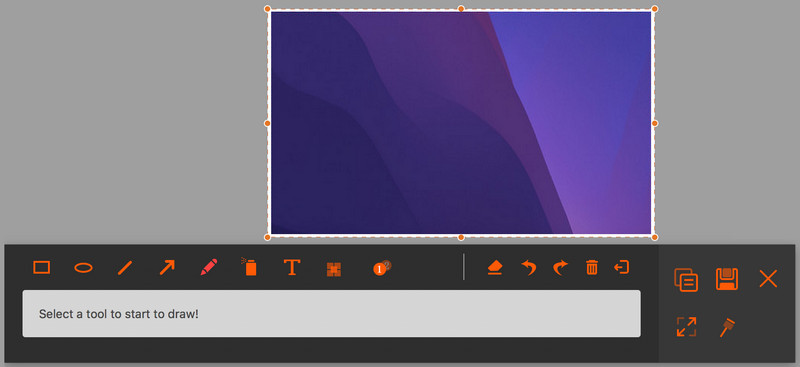
- Add Shapes: You can add shapes to your screenshot to highlight specific areas or create visual interest.
- Change Color Composition: If you're not happy with the default color composition of your screenshot, you can change it to suit your needs.
- Incorporate Text: Adding text to your screenshot can help provide context and clarity.
- Draw on Your Screenshot: You can also draw directly onto your screenshot using the built-in drawing tools.
As mentioned earlier, Apple Preview is a powerful tool for editing screenshots. Not only can you crop and resize your screenshot, but you can also add annotations, blur sensitive information, and even share your screenshot with others.
As we can see from the illustration, How To Take A Screenshot On Mac And Edit has many fascinating aspects to explore.
While Apple Preview is a powerful tool for editing screenshots, there are also many third-party options available to you. These can include image editing software like Adobe Photoshop and GIMP, or even specialized screenshot editing tools like Seoppo and MultiClip.
- Image Editing Software: If you need to make more advanced edits to your screenshot, you may want to consider using image editing software like Adobe Photoshop or GIMP.
- Specialized Screenshot Editing Tools: There are also many specialized tools available that can help you edit your screenshot, including Seoppo and MultiClip.
As we can see from the illustration, How To Take A Screenshot On Mac And Edit has many fascinating aspects to explore.
Taking a screenshot and editing it is a breeze on Mac, regardless of the task. With the tools mentioned in this article, you can capture and edit screenshots to perfection. Whether you're looking to share information, create visual content, or showcase your creativity, this guide has you covered. So next time you need to take a screenshot and edit it, follow these simple steps and become a pro at screenshot editing in no time.
 - Kinsta")


: Complete Methods & Tips")


")

