Smart Thermostat Installation Process: A Comprehensive Guide
Installing a smart thermostat represents one of the best home improvement investments you can make. In just an hour of work, you've gained remote climate control, energy savings, and integration with your smart home ecosystem. The installation process, while requiring attention to safety and detail, is absolutely achievable for most homeowners.Before You Begin
Before you start the installation process, it's essential to choose the right smart thermostat for your home. Consider factors such as energy efficiency, compatibility with your HVAC system, and user interface. Some popular smart thermostat brands include Nest, Ecobee, and Honeywell.Tools and Materials Needed
To ensure a smooth installation process, you'll need the following tools and materials: * Screwdrivers (both flathead and Phillips) * Voltage tester * Wire labels * Level * Drill * Safety glasses * Smartphone for photosStep 1: Prepare Your HVAC System
Such details provide a deeper understanding and appreciation for Smart Thermostat Installation Process.
The first step in the installation process is to prepare your HVAC system. This involves turning off the power at the circuit breaker and confirming with a voltage tester. This will ensure your safety while working with electrical components.Step 2: Remove the Old Thermostat
Next, you'll need to remove the old thermostat from the wall. This typically involves removing the faceplate and screws that hold the thermostat in place. Take care not to damage the surrounding wall or wires.Step 3: Identify and Label Wires
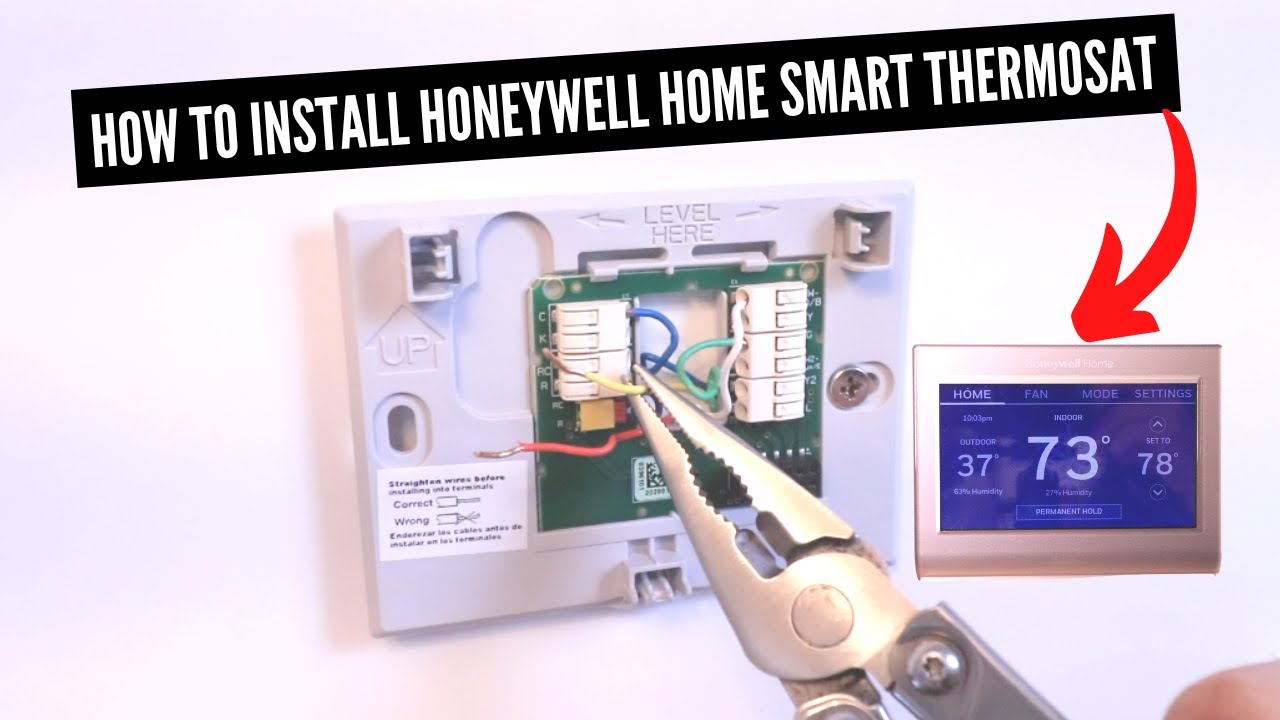
Now, it's time to identify and label the wires connected to the old thermostat. You'll typically find the following wires: * R (red) - usually 24V * W (white) - usually 24V * Y (yellow) - usually 24V * G (green) - usually 24V * B (black) - usually 24V * C (common) - usually 24V Label each wire with its corresponding color to ensure you connect them correctly to the new smart thermostat.Step 4: Install the New Smart Thermostat
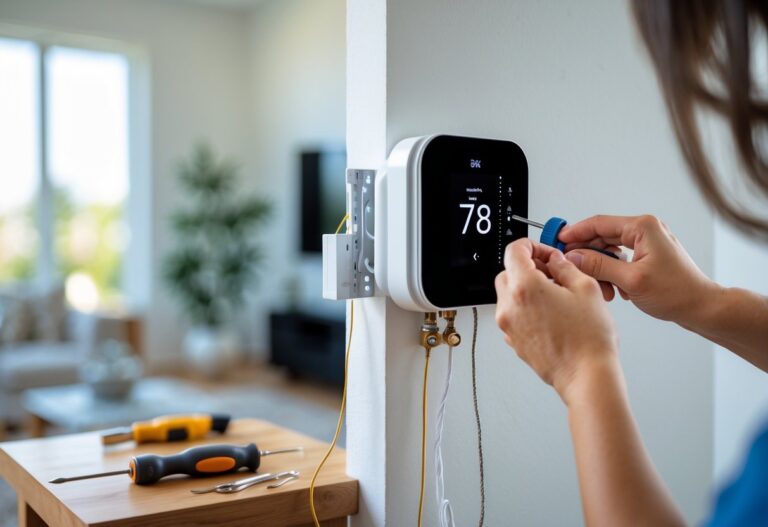
Furthermore, visual representations like the one above help us fully grasp the concept of Smart Thermostat Installation Process.
With the old thermostat removed and wires labeled, it's time to install the new smart thermostat. Follow the manufacturer's instructions to connect the wires to the new thermostat. Typically, you'll connect the R, W, and Y wires to the corresponding terminals on the new thermostat.


:max_bytes(150000):strip_icc()/SPR-smart-thermostat-installation-7109495-step-hero-f2525e5acfdf476ea8a2bfde7efdb037.jpg "Con Edison Rebate Thermostat: Smart Savings for New York Homes")


")


