Drywall Nail Pop Repair: A Comprehensive Guide
Why Drywall Nail Pops Happen
Drywall nail pops are a common issue that can occur in any home, regardless of its age or condition. They happen when the nails or screws that hold the drywall in place back out and push the drywall away from the wall surface. This can be caused by a variety of factors, including seasonal expansion and contraction of the wood framing behind the drywall, humidity changes, or loose fasteners.Symptoms and Signs of Drywall Nail Pops

Such details provide a deeper understanding and appreciation for Drywall Nail Pop Repair.
Nail pops can be identified by the unsightly bumps or convex circles that form on the surface of the drywall. These can be found on both ceilings and walls, and are often larger on areas that are exposed to high humidity or temperature fluctuations. The nail pop itself is usually a small, raised area where the nail has pushed through the drywall, but it can sometimes be accompanied by other issues, such as drywall shrinkage or cracks. There are several reasons why drywall nail pops occur, including:- Seasonal expansion and contraction of the wood framing behind the drywall
- Humidity changes
- Loose fasteners
- Wood rot or decay
- Over-tightening or loose screws
How to Fix Drywall Nail Pops
Moving forward, it's essential to keep these visual contexts in mind when discussing Drywall Nail Pop Repair.
Fortunately, drywall nail pops are usually easy to fix, and can be done without the need for professionalDrywall nail pop repair. Here's a step-by-step guide on how to fix nail pops in your drywall:- Assess the nail pop: Before you begin, make sure to assess the nail pop to determine the cause. If the nail is loose or the drywall is damaged, you may need to repair or replace the drywall before attempting to fix the nail pop.
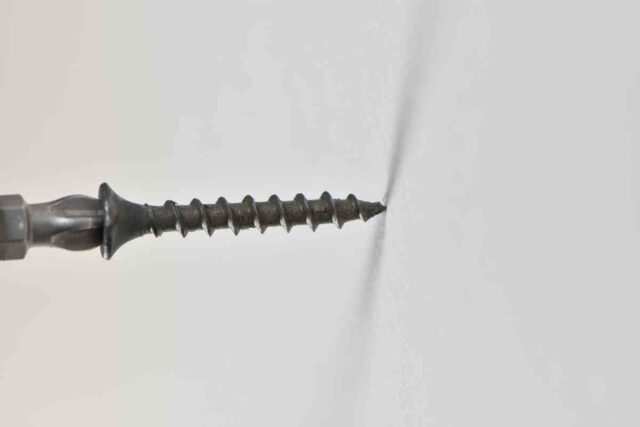
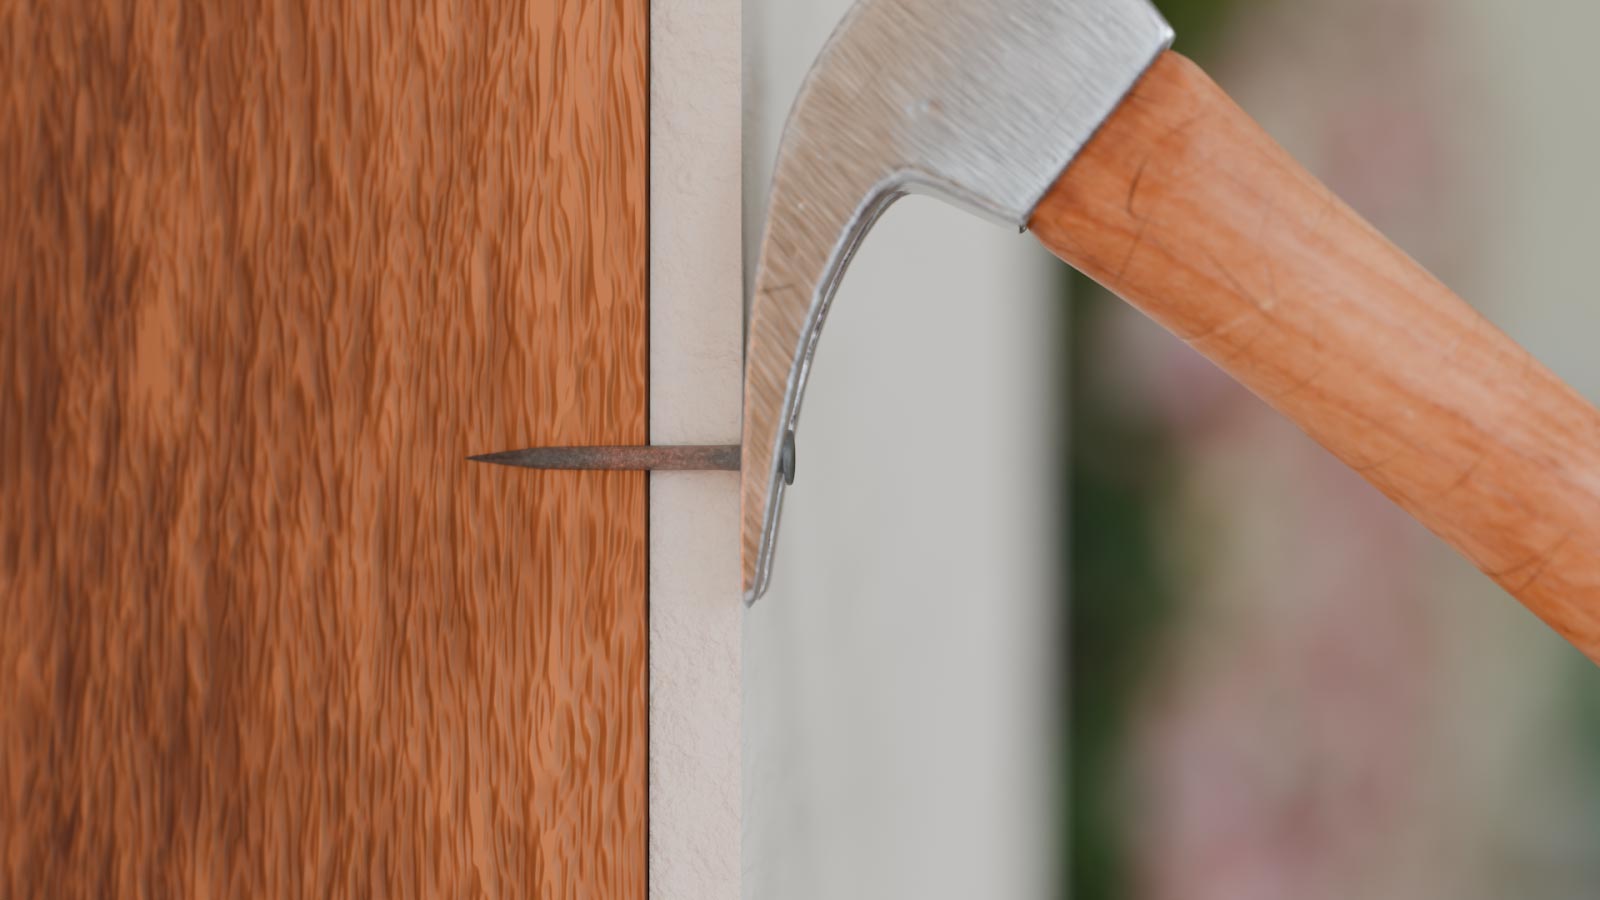
- Remove the nail: Use a screwdriver or chisel to carefully remove the loose nail from the drywall. Be careful not to scratch the surrounding area.
- Clean the area: Once you've removed the nail, clean the area of any debris or dust.
- Replace the nail: Use a new nail and attach it to the wood framing behind the drywall. Make sure to screw it in tightly, but avoid over-tightening.
- Fill the hole: Use joint compound or spackling to fill in the hole left by the removed nail. Smooth out the area with a putty knife and let it dry.
Prevention is Key
Moving forward, it's essential to keep these visual contexts in mind when discussing Drywall Nail Pop Repair.
While it's always possible to fix drywall nail pops, prevention is the best way to avoid them in the first place. Here are a few steps you can take to help prevent drywall nail pops:- Regularly check your drywall for loose nails or screws
- Use the right type of fasteners for your drywall installation
- Keep your home's temperature and humidity levels consistent
- Avoid over-tightening screws or nails
- Use a moisture-control product to help prevent drywall from shrinking or expanding


:max_bytes(150000):strip_icc()/steps-for-repairing-drywall-nail-pops-1822835-05-f2ae7e3b882c4343adde26e455f9e98b.jpg "Fixing Nail Holes In Drywall - Instagram")

 | Easy DIY Wall Repair Guide")


