Setting Up a Custom Discord Channel Invite Link: A Step-by-Step Guide
In today's digital age, having a well-organized and secure Discord server is essential for any community or organization. One of the most effective ways to do this is by setting up a custom Discord channel invite link. This feature allows you to create personalized, memorable, and branded invitations that reflect your community's name and identity. In this article, we will show you how to create a custom Discord channel invite link and manage its settings, including permissions and expiration dates.
What is a Custom Invite Link?
A custom invite link is a personalized invitation link that replaces Discord's default randomly-generated codes with a memorable, branded address like discord.gg/yourcommunityname. This feature makes it simpler for users to find and join your server, especially if you have a large community or a specific audience in mind.
Benefits of Using a Custom Invite Link

Using a custom invite link has several benefits, including:
- Improved branding and professionalism: A custom invite link reflects your community's name and identity, making it more recognizable and trustworthy.
- Easier access control: You can set expiration dates and usage limits for your invite link, ensuring that only authorized users can join your server.
- Increased security: By setting up a custom invite link, you can limit access to your server and prevent unauthorized users from joining.
Setting Up a Custom Invite Link
To set up a custom invite link, follow these steps:
Furthermore, visual representations like the one above help us fully grasp the concept of Discord Channel Invite Link Setup.
Managing Invite Link Settings
Once you have created a custom invite link, you can manage its settings to control who can join your server and when. To do this, follow these steps:
- Open the invite link settings by clicking on the "Edit Invite Link" button.
- Update the invite link name and description as needed.
- Choose the expiration date and usage limits for your invite link.
- Set permission levels for the users who can join your server via the invite link.
- Click on the "Save" button to apply the changes.
Conclusion
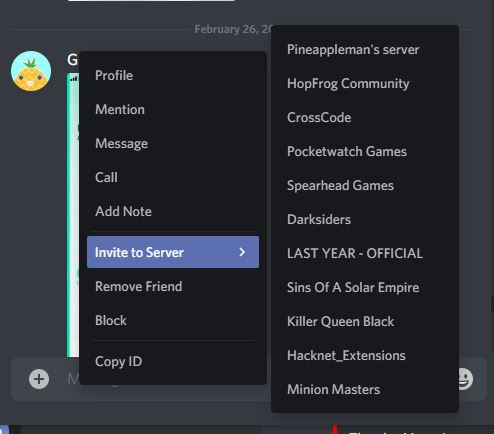
Moving forward, it's essential to keep these visual contexts in mind when discussing Discord Channel Invite Link Setup.
Setting up a custom Discord channel invite link is an essential step in creating a well-organized and secure server. By following the steps outlined in this article, you can create a personalized invite link that reflects your community's name and identity, while also controlling who can join your server and when. Remember to regularly review and update your invite link settings to ensure that your server remains secure and accessible to only authorized users.
Additional Tips and Resources
Here are some additional tips and resources to help you manage your Discord server effectively:
- Use Discord's built-in permissions system to manage access levels for users and roles.
- Create custom roles and assign permissions accordingly.
- Set up Discord webhooks to automate messages and data updates to specific channels.
- Use Discord bots to enhance your server's functionality and manage tasks.
- Explore Discord's community settings to manage community rules and announcements.
By following these tips and using the resources available, you can create a robust and secure Discord server that meets the needs of your community and organization.


")


")


![How To Generate Discord Invite Links? [SOLVED] - GoLinuxCloud - Discord Channel Invite Link Setup](https://www.hostinger.com/tutorials/wp-content/uploads/sites/2/2023/08/discord-bot-invitation-page.png "How To Generate Discord Invite Links? [SOLVED] - GoLinuxCloud")


