How to Set Up Windows 11 with RAID Disk
Introduction to RAID

This particular example perfectly highlights why How To Set Up Windows 11 With Raid Disk is so captivating.
RAID allows you to build a fault-tolerant storage system that can recover data even if a disk fails. There are several RAID configurations available, including RAID 0, RAID 1, RAID 5, and RAID 10. The differences between these configurations are based on how data is distributed across the disks and how data is mirrored or parity is calculated.

Preparation for RAID Setup
Before setting up RAID on Windows 11, you'll need to meet a few requirements:
- Multiple hard drives with a compatible RAID mode (e.g., SATA, PCIe)
- A motherboard that supports RAID and has a compatible BIOS version
- Windows 11 installation media (USB or DVD)
- Step 1: Create a RAID Array in the BIOS/UEFI
Enter the BIOS/UEFI settings by pressing the Del or F2 key during bootup. Create a new RAID array in the storage configuration settings. This will typically involve selecting the hard drives you want to include in the array and configuring the RAID mode.
Save the changes and exit the BIOS/UEFI settings. The system will now detect the RAID array and present it as a single drive in the Disk Management utility.
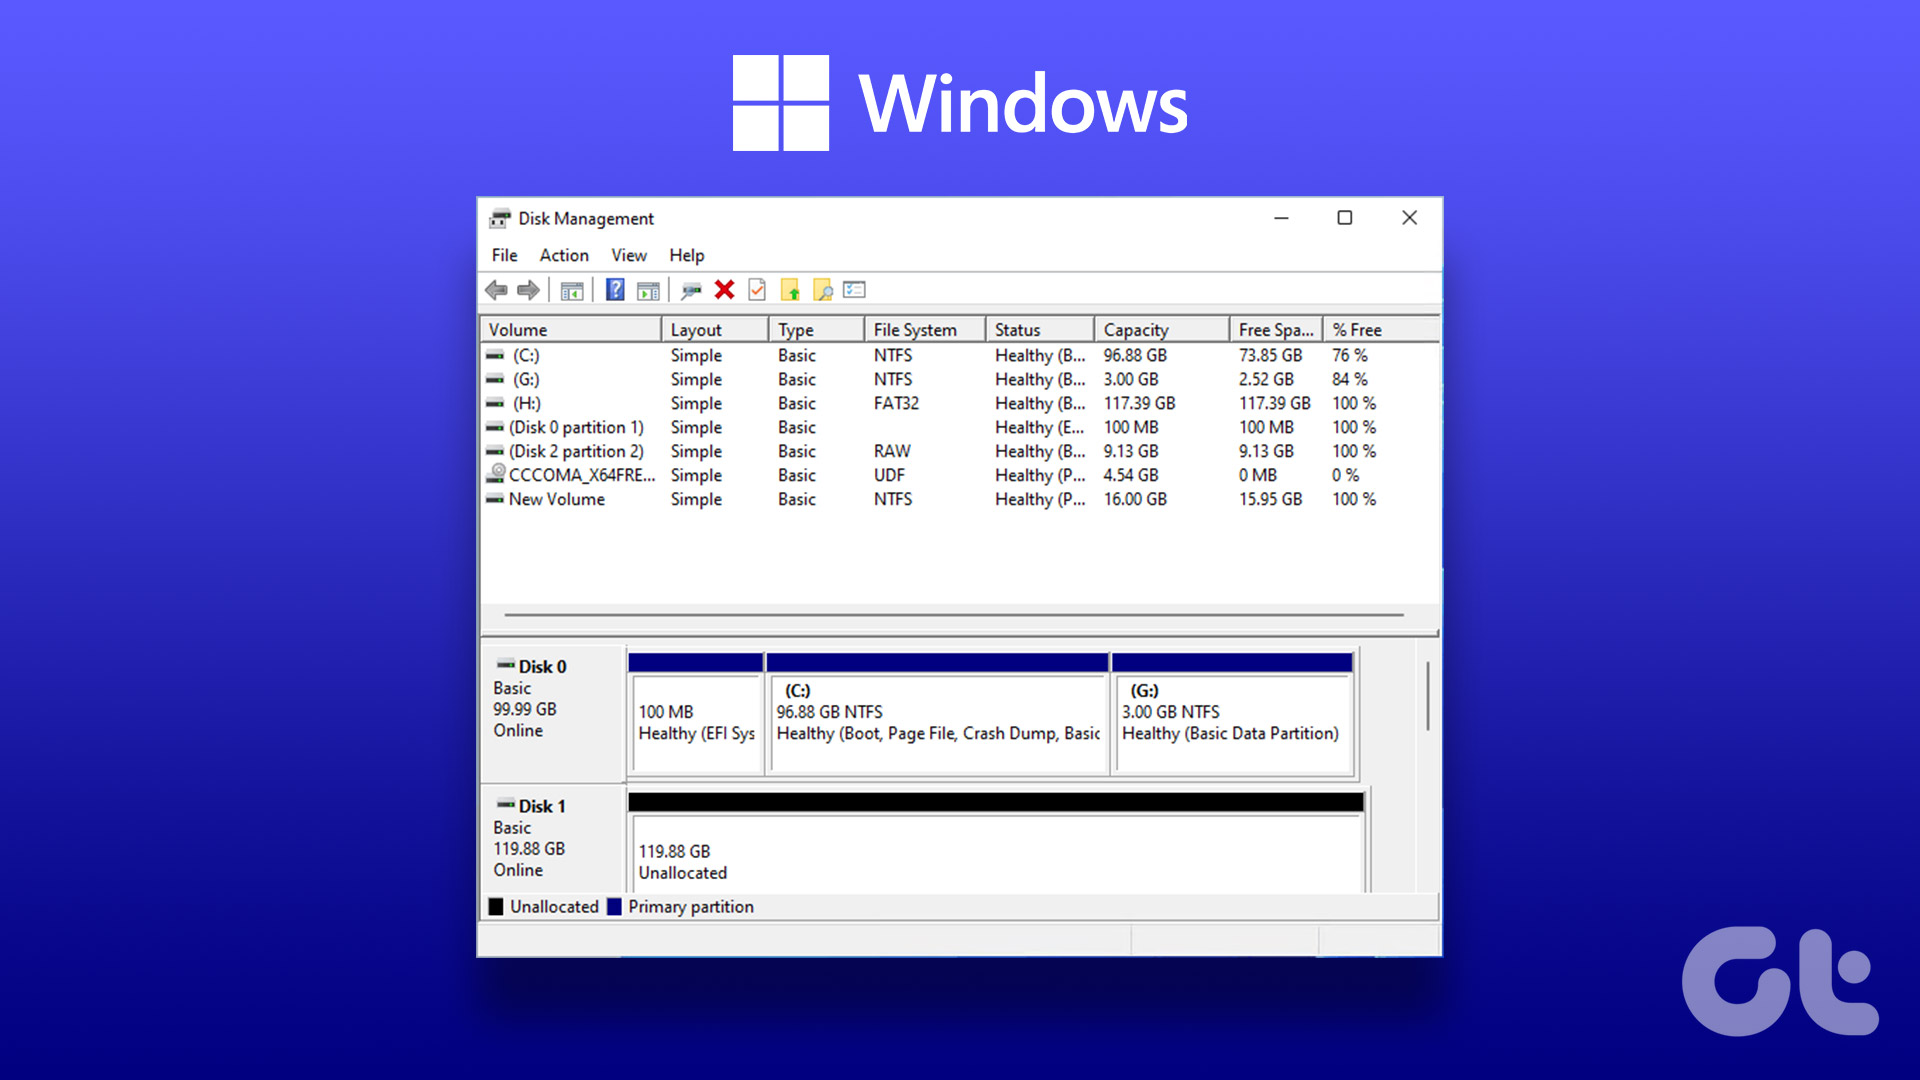
Step 2: Initialize the RAID Array in Disk Management
After initializing the RAID array, you can proceed with formatting the disk and installing Windows 11.
Step 3: Install Windows 11 on the RAID Array
Insert the Windows 11 installation media and boot from it. The installation process will automatically detect the RAID array and prompt you to format the disk. Select the disk you created in the previous steps and follow the on-screen instructions to complete the installation process.
Step 4: Configure RAID in Windows 11
Once Windows 11 is installed, you can configure RAID settings in the Disk Management utility. Right-click on the RAID array and select "Properties" to access the RAID settings. You can configure settings such as the RAID mode, strip size, and magnetic disk speed.
After configuring the RAID settings, you can proceed with optimizing performance and system reliability.
Optimizing Performance and System Reliability
Now that you have set up RAID on Windows 11, you can optimize performance and system reliability by:
- Configuring disk cache and RAM usage
- Events and performance monitoring
- NAS Quick Setting up Alert messages with prompt and assistance from Microsoft Services utilizing Live and notification tech Service Industry Institutions Alerts
Conclusion
In this guide, you learned how to set up Windows 11 with a RAID disk. RAID offers improved performance and data protection, making it an ideal solution for systems that need high reliability and efficiency. By following the steps outlined in this guide, you can create a stable and high-performance storage system on your Windows 11 machine.
Do you have any questions about setting up RAID on Windows 11? Let me know in the comments below!


