Discord Role Creation Tutorial: Organize Your Server Like a Pro
Are you looking for a way to manage your Discord server with ease? One of the most effective methods to organize your server and ensure a smooth community experience is by creating custom Discord roles. In this comprehensive guide, we will walk you through a step-by-step tutorial on how to create and manage roles in Discord, including setting up permissions, creating reaction roles, and more. Discord roles help you set permissions for individual members of a server. Whether you have a small or large server, roles can keep you organized and safe. Once you create a role, you can do many things, such as create special channels and delegate new users. To create a new role, you must first access the server settings. On your desktop, use either the Discord desktop app or Discord for the web to make and assign user roles. To begin, launch Discord on your machine. In Discord's left sidebar, select the server in which you want to create roles. At the top, next to your server name, click the down-arrow icon and choose "Server Settings."Step 2: Creating a New Role
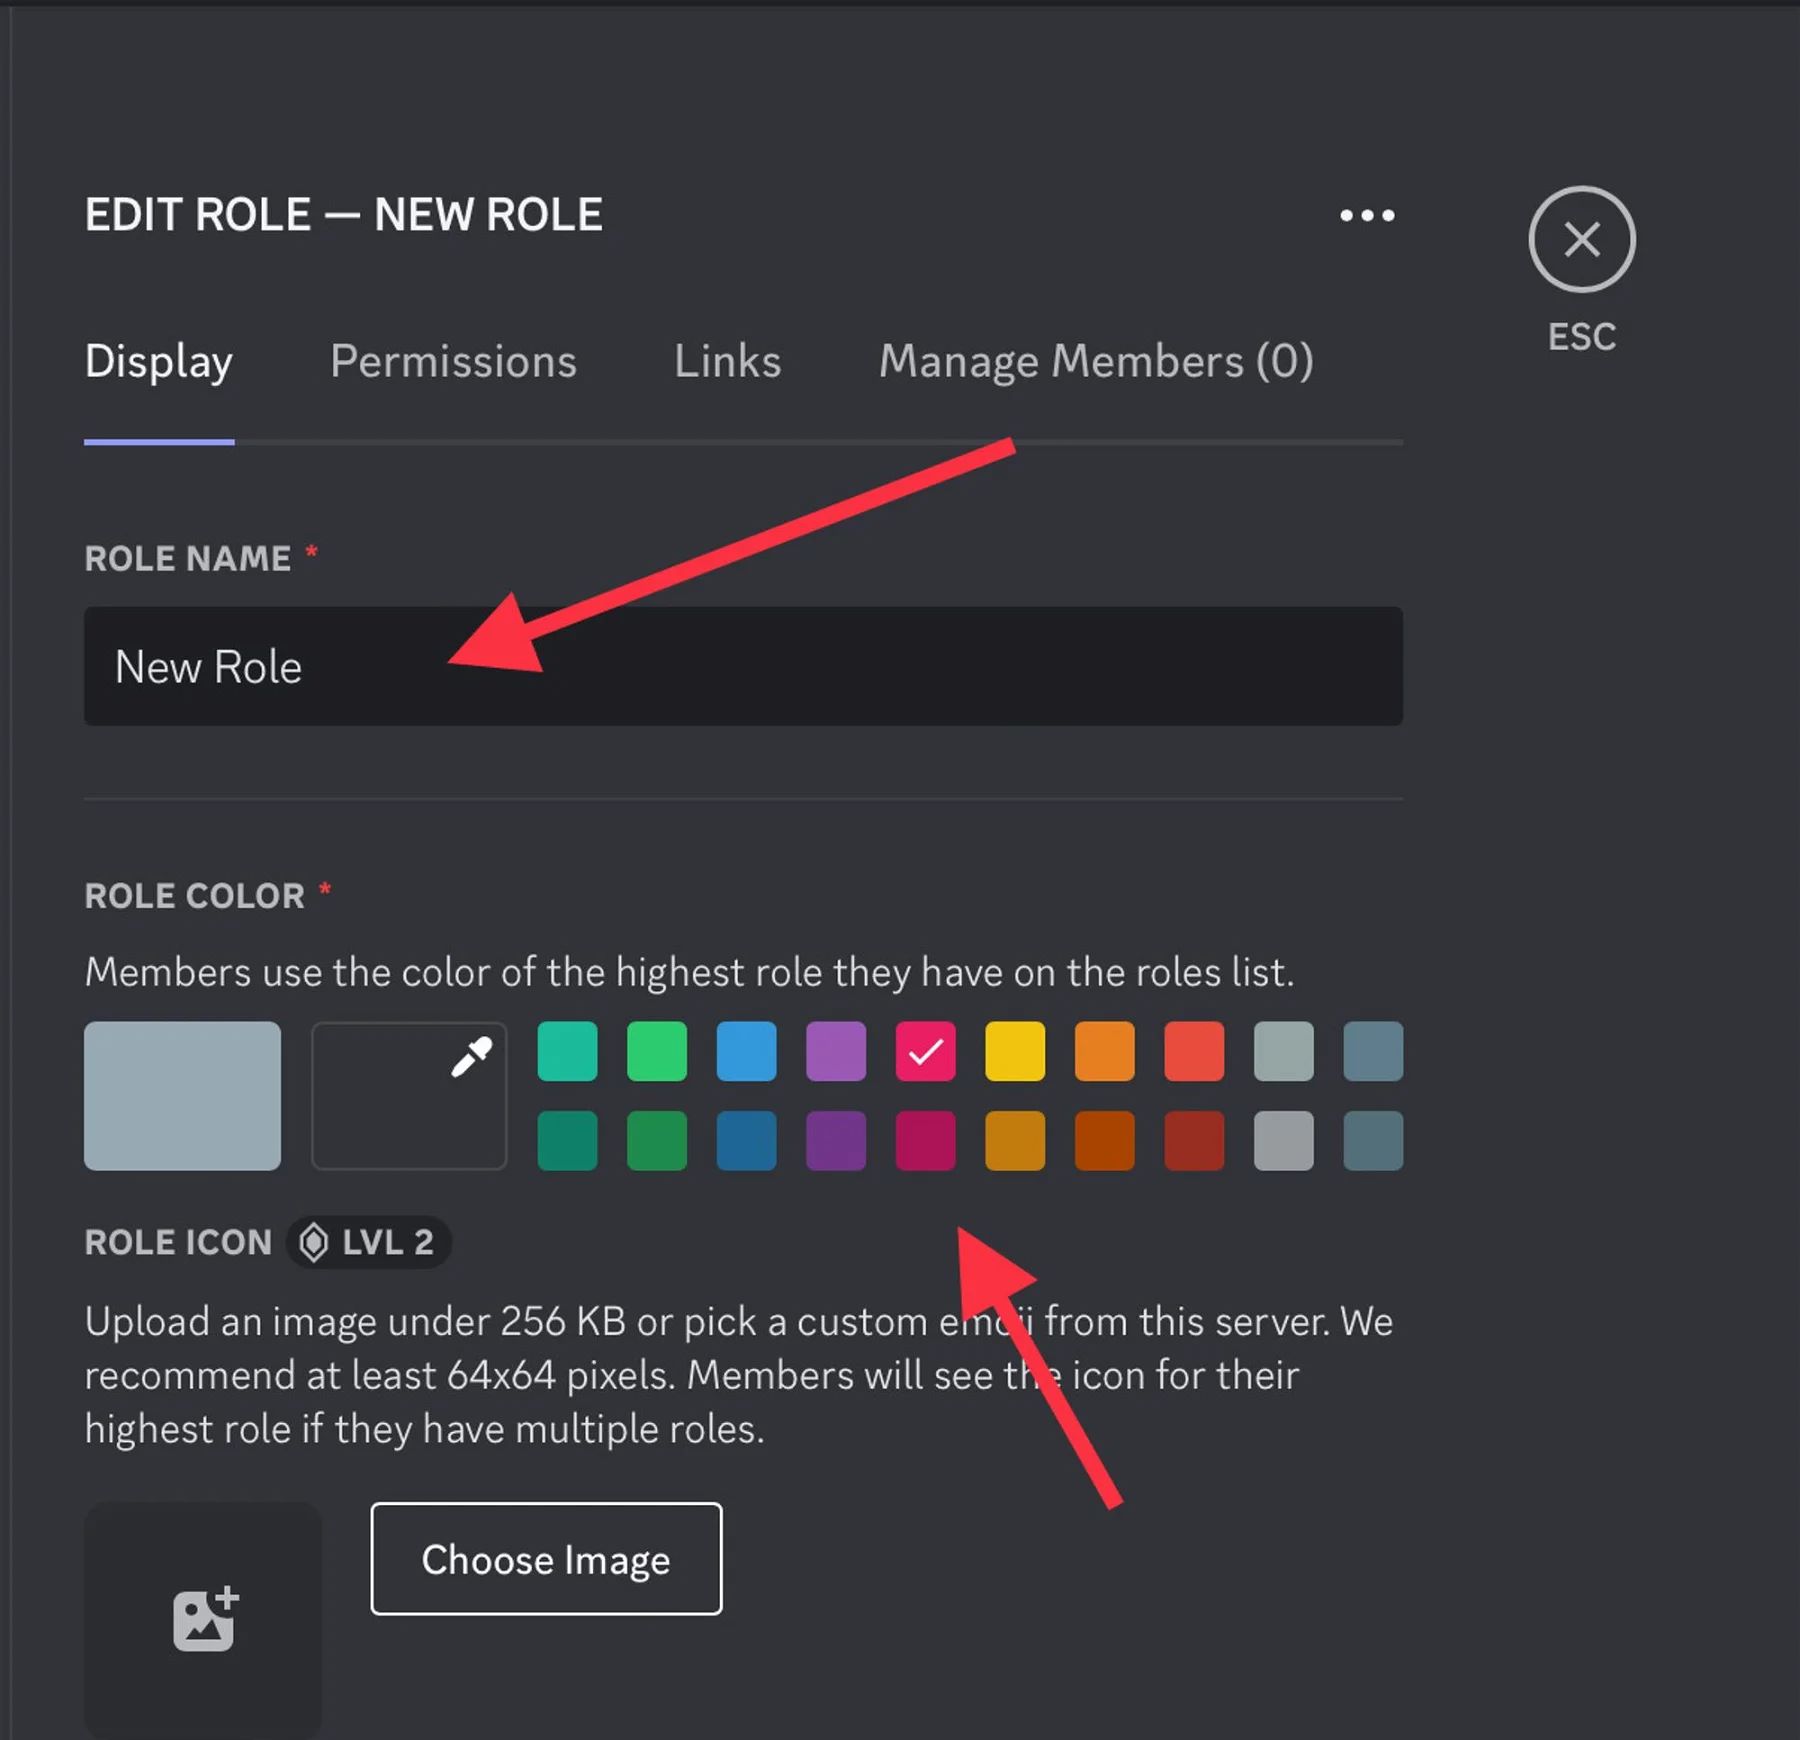
In the server settings panel, click on the "Roles" tab on the left-hand sidebar. Then, click the "Create Role" button. A pop-up window will appear where you can enter the role's name, select its color, and set permissions for the role. You can also customize the roles' permissions by checking or unchecking the boxes next to each privilege. For example, you can allow or deny a role from seeing certain channels or accessing voice channels.Step 3: Assigning Roles
Moving forward, it's essential to keep these visual contexts in mind when discussing Discord Role Creation Tutorial.
Once you have created a new role, you can assign it to users in your server. To do this, go back to the roles tab and click on the role you just created. Then, click on the "Assign Role Users" button. From here, you can choose which users to assign the role to. You can select multiple users by holding the Ctrl key and clicking on their names.Creating Reaction Roles
Reaction roles are a fun way to let your users interact with your server. You can manage reaction roles with the bot using the /reaction-role command. The set-up process is very intuitive: type out /reaction-role create, paste a message link, select an emoji, and pick a role. Hit enter and you're done, your members can now react to any of your messages to pick their roles.Role Permissions

This particular example perfectly highlights why Discord Role Creation Tutorial is so captivating.
Understanding role permissions is key to creating a well-managed Discord server. There are several permissions available, including: • Change Nickname: Enabling this permission will allow a user to change their own nickname in the server. • Manage Nickname: Enabling this permission will allow a user to change other server members' nicknames within that server. • Manage Channels: Enabling this permission will allow a user to manage channels, including creating, editing, and deleting channels. • Manage Emoji: Enabling this permission will allow a user to manage server emojis.


 - YouTube")


